Once you have the holes all ligned up on top, Ctrl-Click the "holes" layer to select all the holes. Press-and-hold Shift-Alt again and click-and-drag the selected holes down to create the holes on the bottom part of the film strip.
Step 3
Ctrl-Click the "holes" layer again to select all the holes, top and bottom. Click on the black rectangular layer in the layers palette to make that layer active. Then hit Backspace to knock out the holes out of the black rectangular frame. You can delete your holes layer—we no longer need it.
Now all you're left with is the black film strip frame (and the white background layer.)
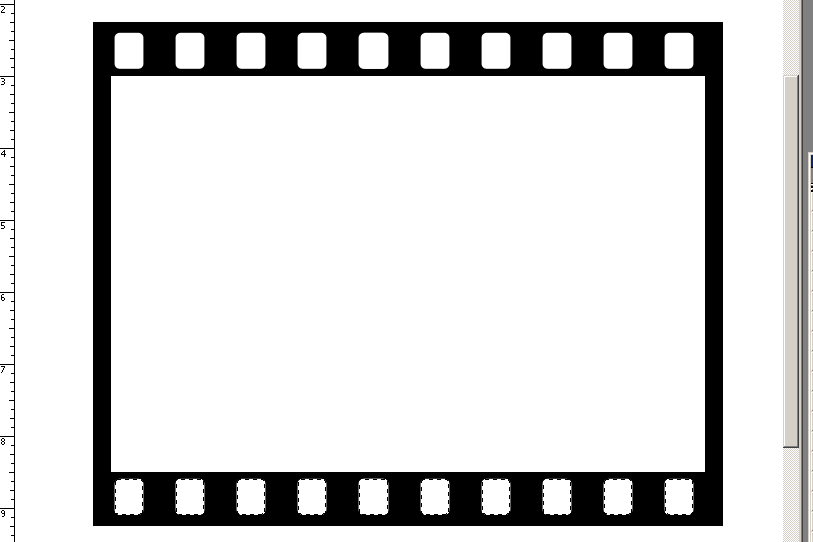
Step 4
Add drop shadow to the filmstrip layer. If everything was done right, you will see shadows inside the holes too. This will give our final slide a three-dimensional depth.
Open a photo of your choosing. With the Move tool active, click-and-drag the photo into your filmstrip document. Make sure the photo layer is behind the filmstrip layer. Ctrl-T or Edit>Free Transform the photo to fit just outside the white "opening". Kinda like this, or even tighter:

Step 5
Remember the selection we saved in step 1? Make sure the image layer is still active and load that selection now (Select>Load Selection). Everything outside that selection we do not need. So, invert that selection (Select>Inverse) and hit the Delete button. Now only what we need shows in the filmstrip frame.
Now you can connect all the layers in the palette and play with the entire slide. You can Free Transform the size and/or position of the slide.
Save the file with a .psd extention and you'll be able to drop a new image inside the slide frame on the fly.

Optional
For even more realizm, add these markings on the bottom of the filmstrip. They indicate the slides' numbers.


No comments:
Post a Comment